A project that almost ended up with a hospital visit 😬
My husband and I recently bought a new home with a rather small garden. Within this garden we want to plant our own veggies. To make this possible we designed some raised veggie beds and started a small terraforming project.
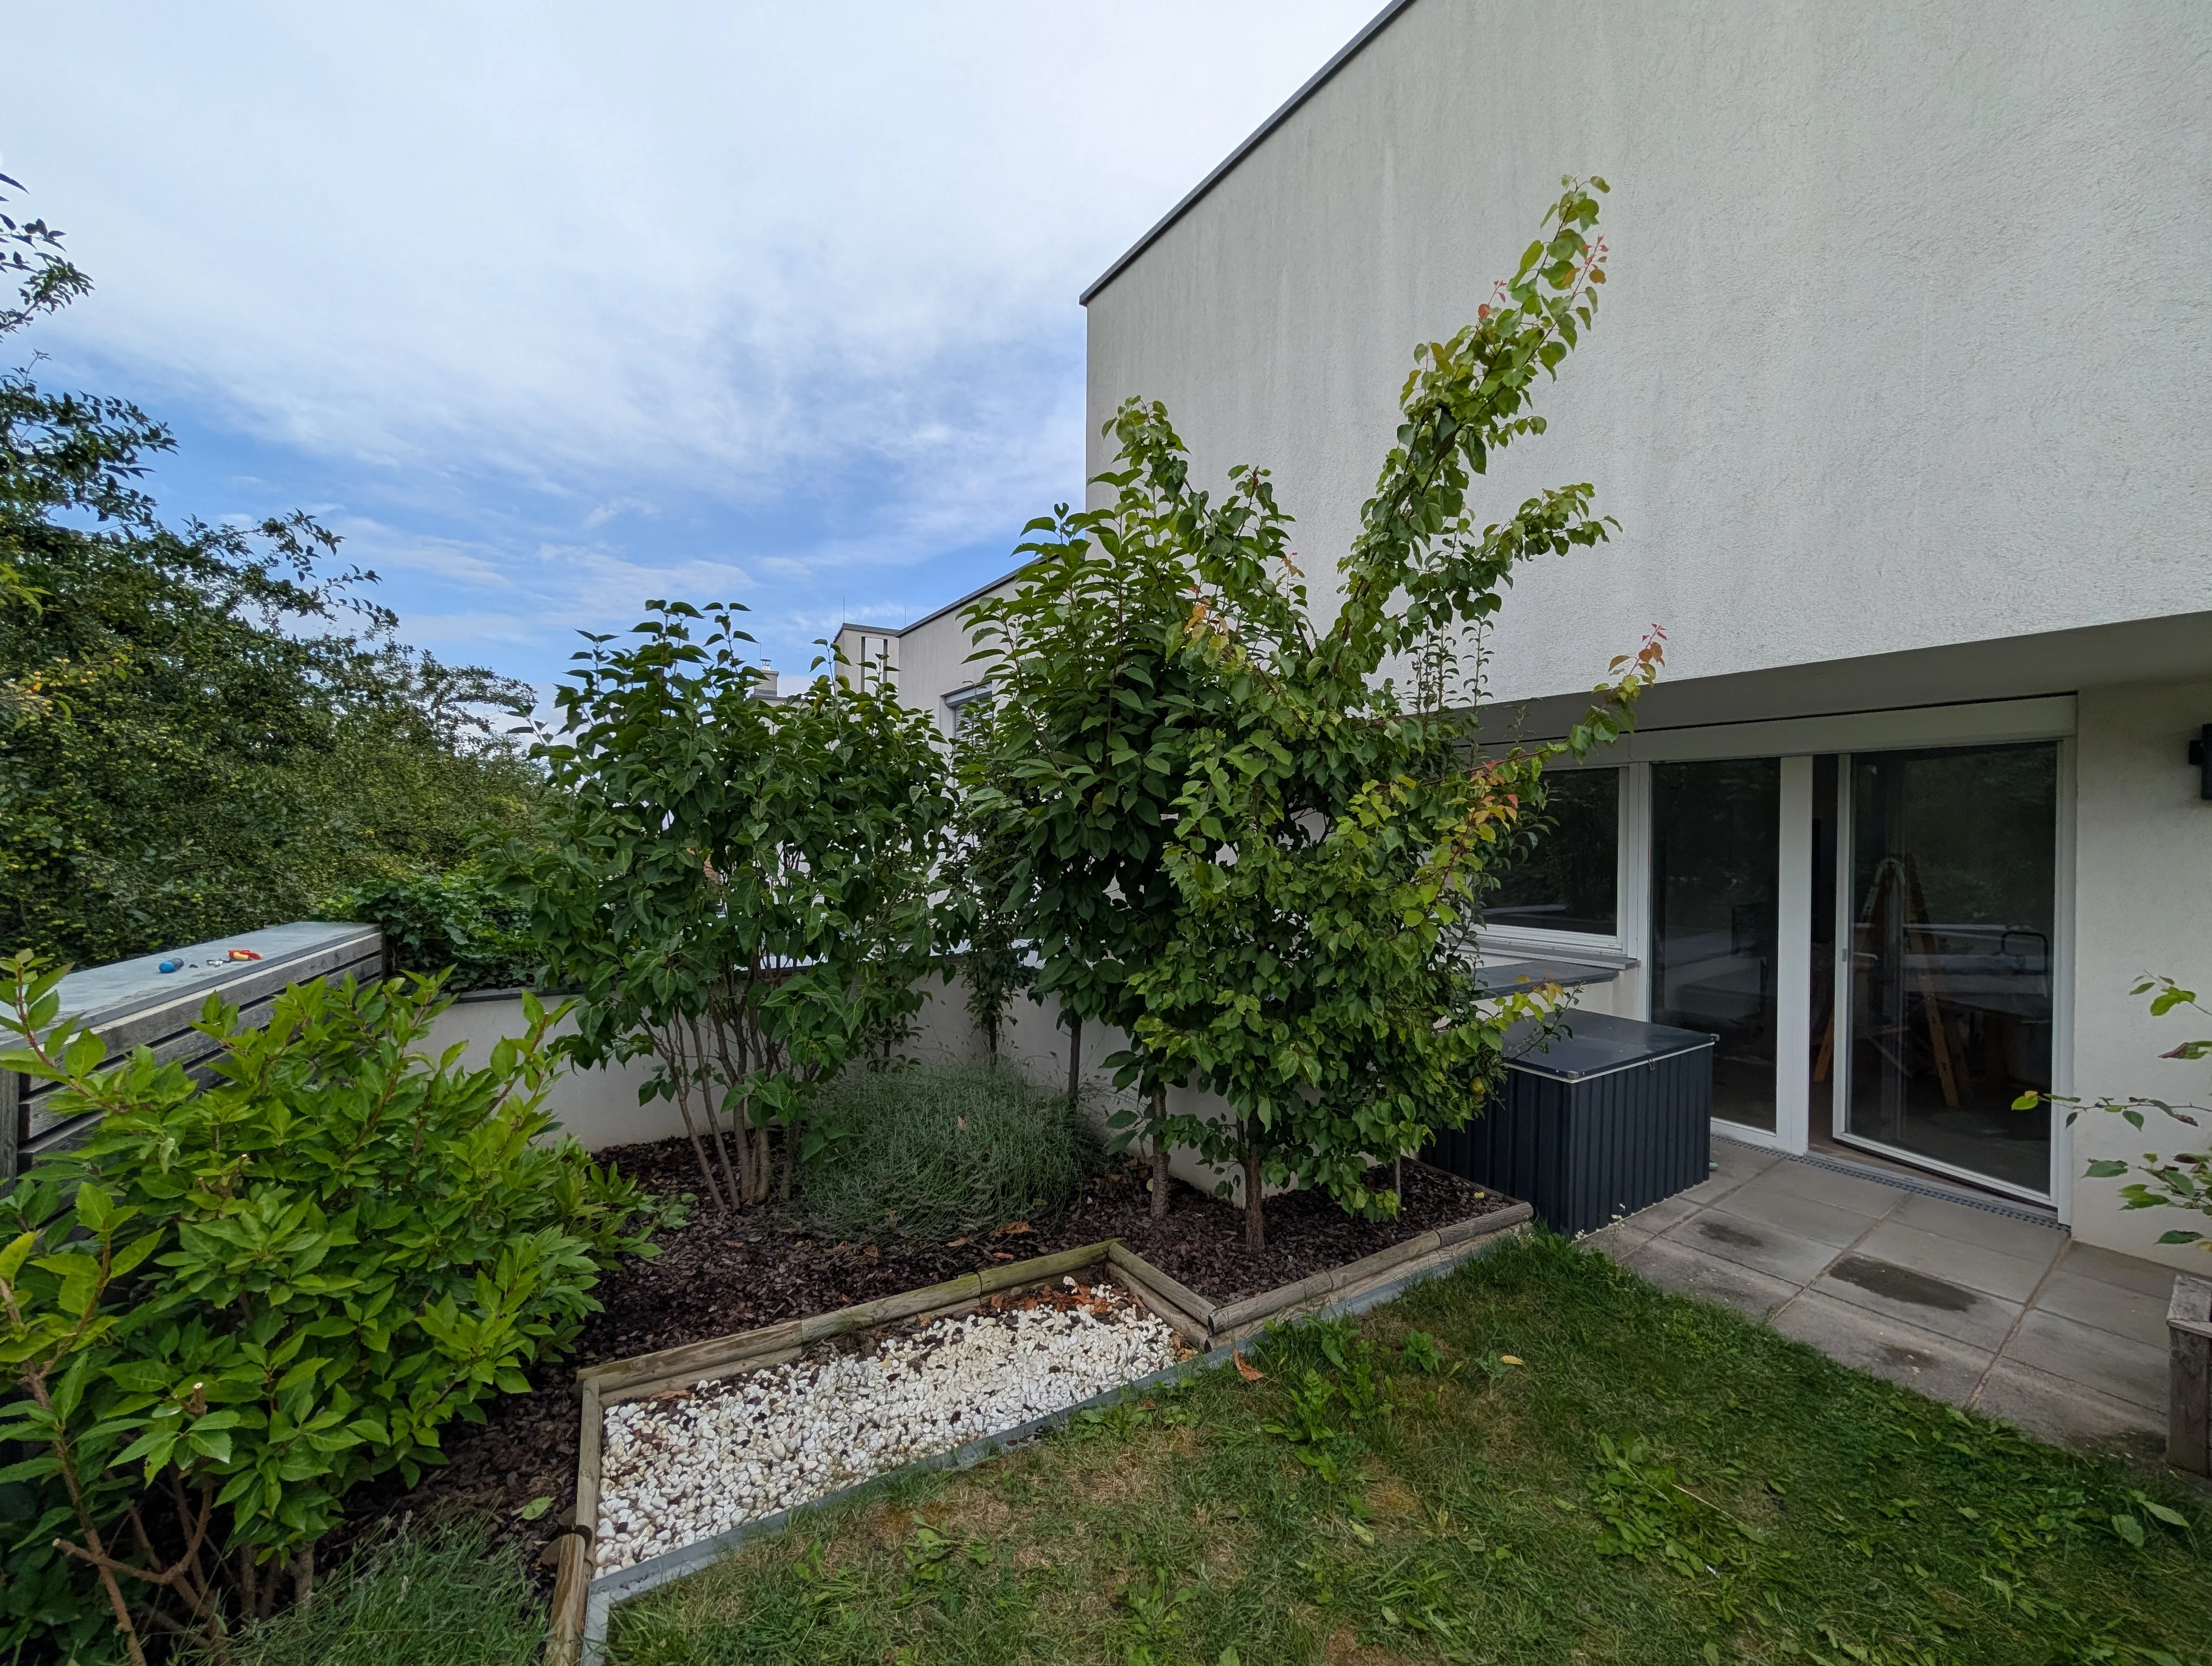
Our garden was filled with small trees and a small planter. There was almost no space for a table or chair and the lawn was tiny and almost only moss. Here is a picture of the garden as it was when we bought the house:
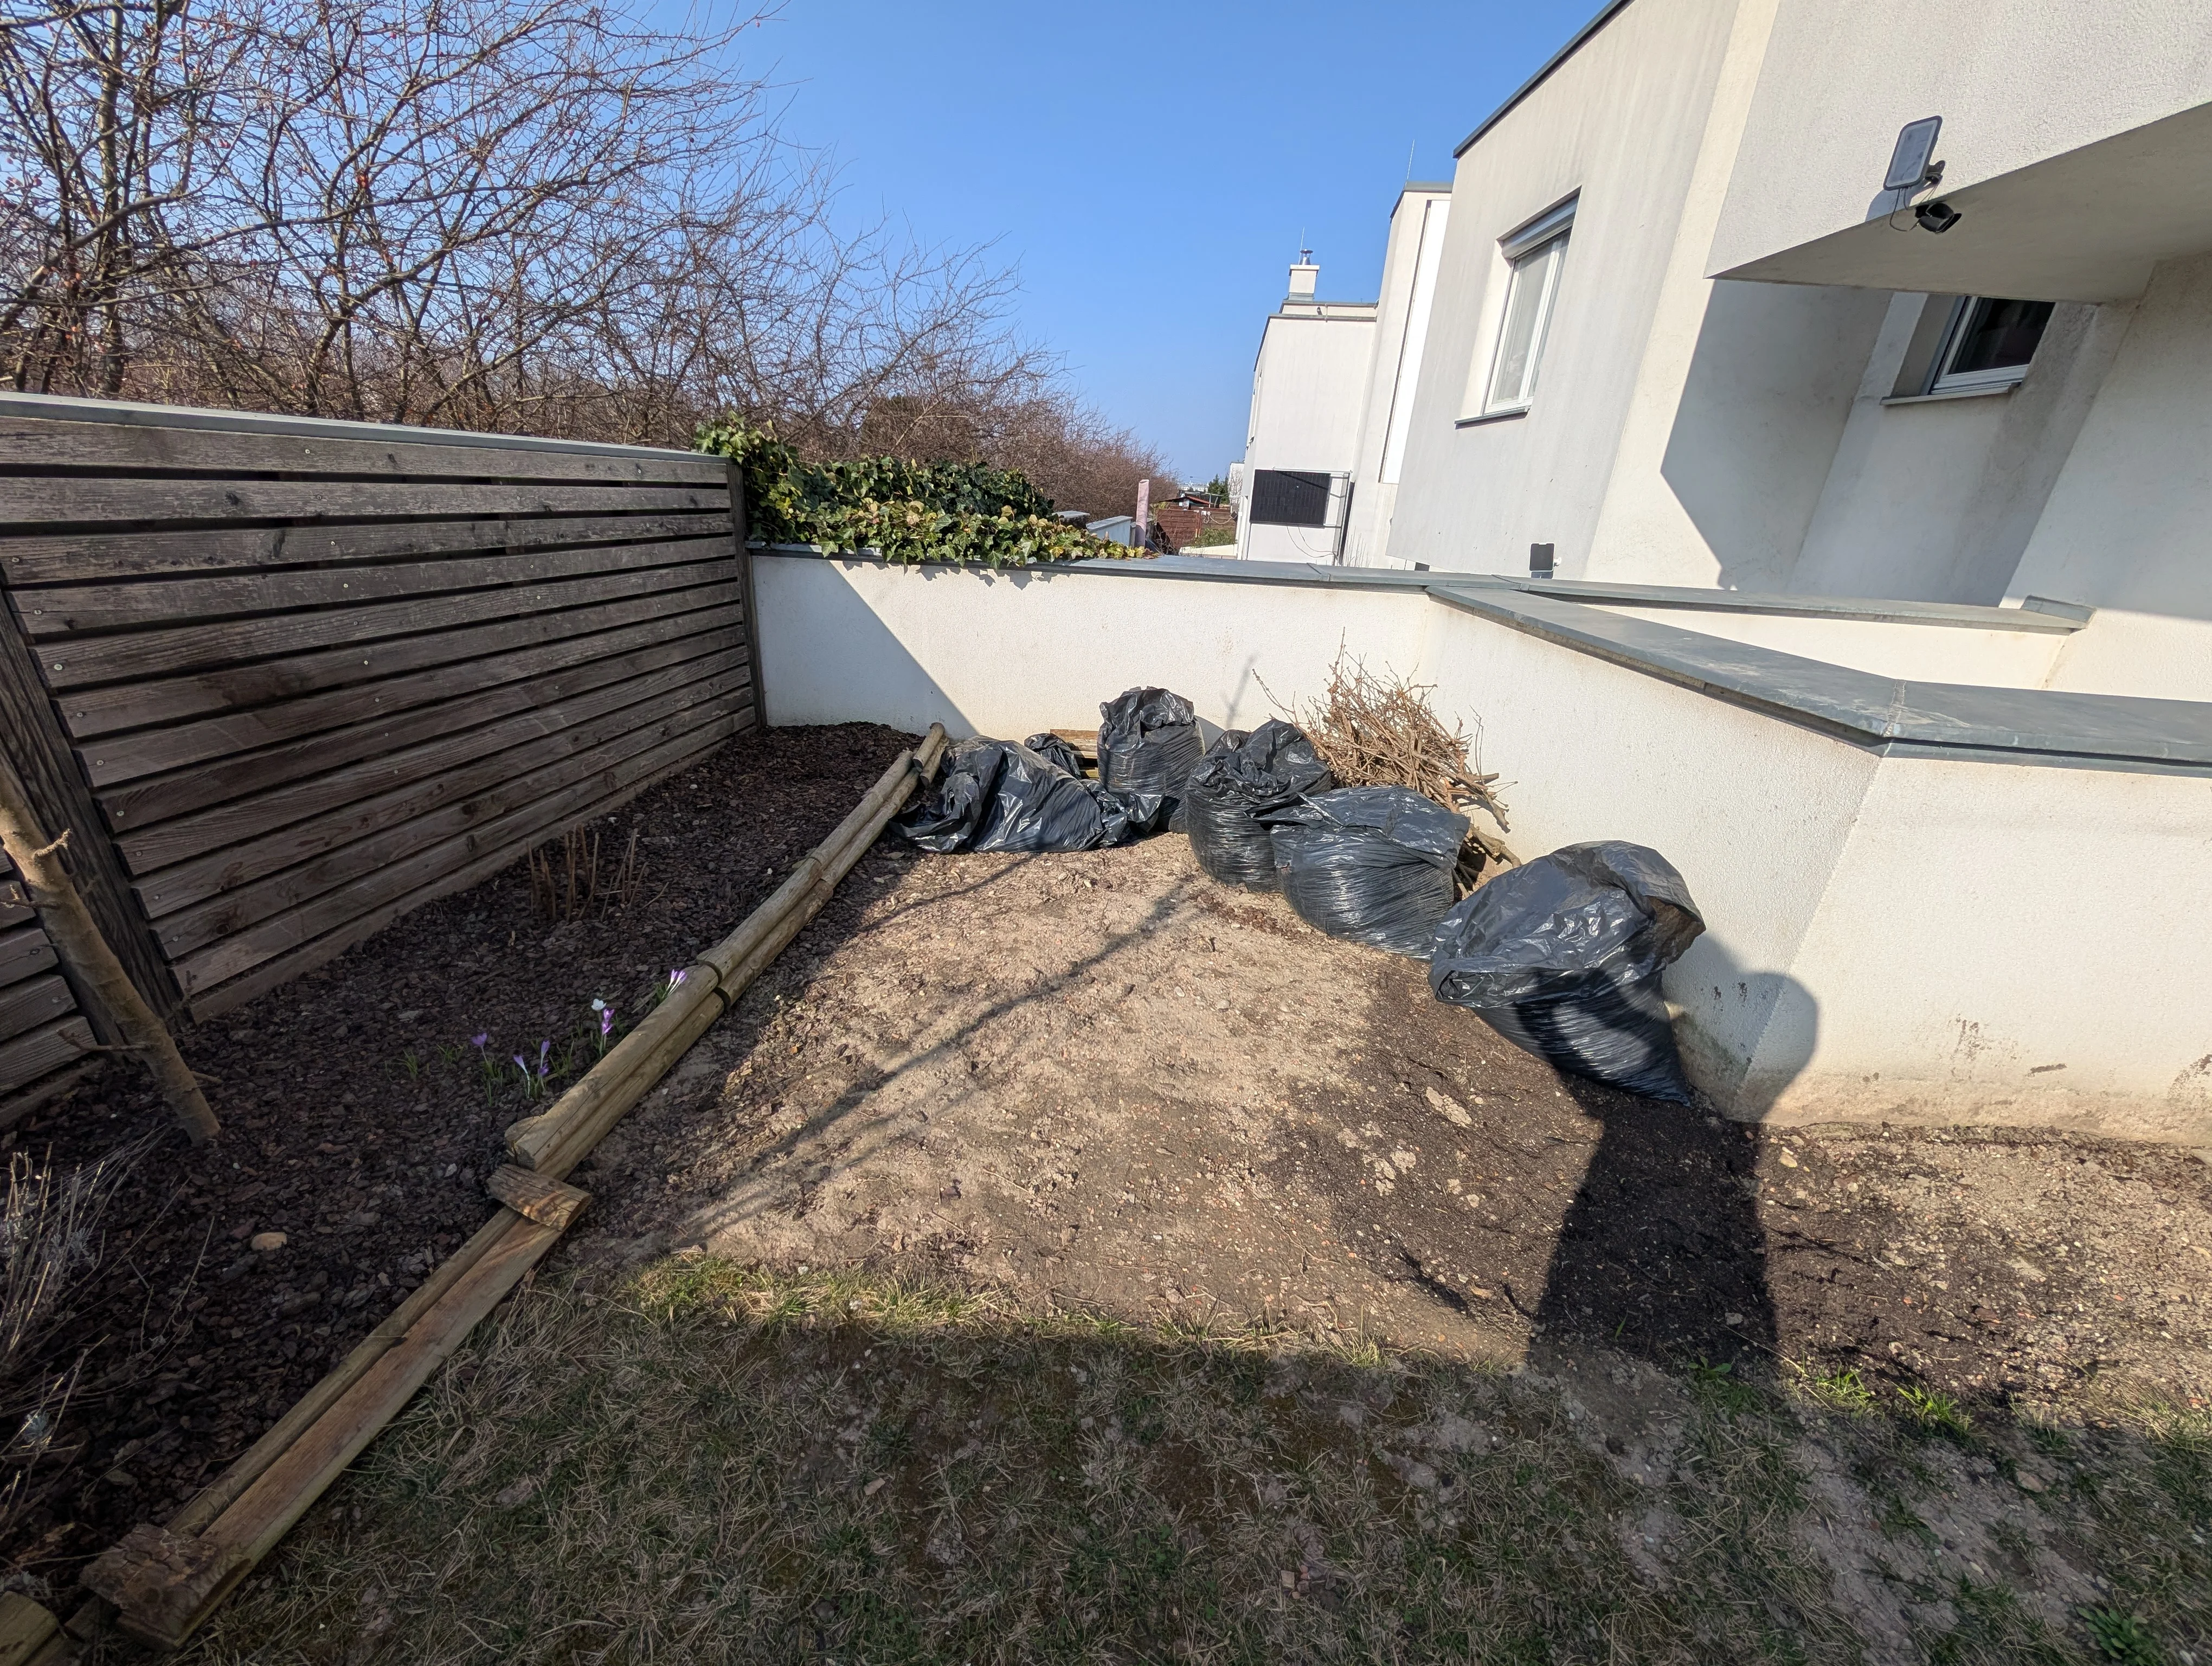
To prepare for the veggie planter we had to get rid of some trees (we planted two of them somewhere else and moved three of them to family and friends). As well as getting the plants to new homes we had to remove the bark mulch that was spread out everywhere. It took me many hours to get all the mulch into bags, but in the end we had a dirt area where the beds had been and bags full of mulch and stone for later use:
The Design
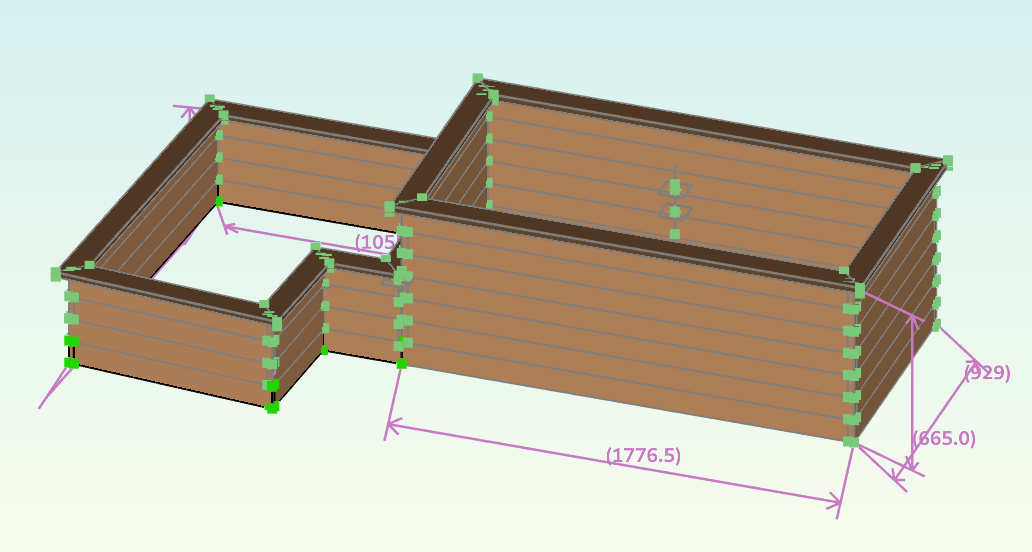
During the design process my husband created a digital model in Dune3D to simplify the calculation of the needed materials and to be able to quickly adjust to changes. The biggest difficulty was the layout of our garden. Since the outer perimeter isn’t in a 90° angle we had to adjust to some weird measurements. During planning we decided to keep that problem for later and fix it during the build. Here is a picture of what we were trying to build:
The Materials
Since wood from the hardware store can be rather expensive we bought the materials from a local business. By doing that we had some variation in the thickness and width of the boards, but that didn’t really matter anyway. We ended up buying European larch, since it is local and robust. In total, we got 40 planks of size 2m × 10cm × 2.4cm plus 12 corner posts sized 5cm × 5cm × 75cm with slight variations in all measurements.
The rest of the necessary materials be bought at the hardware store. We got some screws, stones for the base, pond liner, steel cable and some mounting brackets. The complete cost was about €263.60 for the building materials.
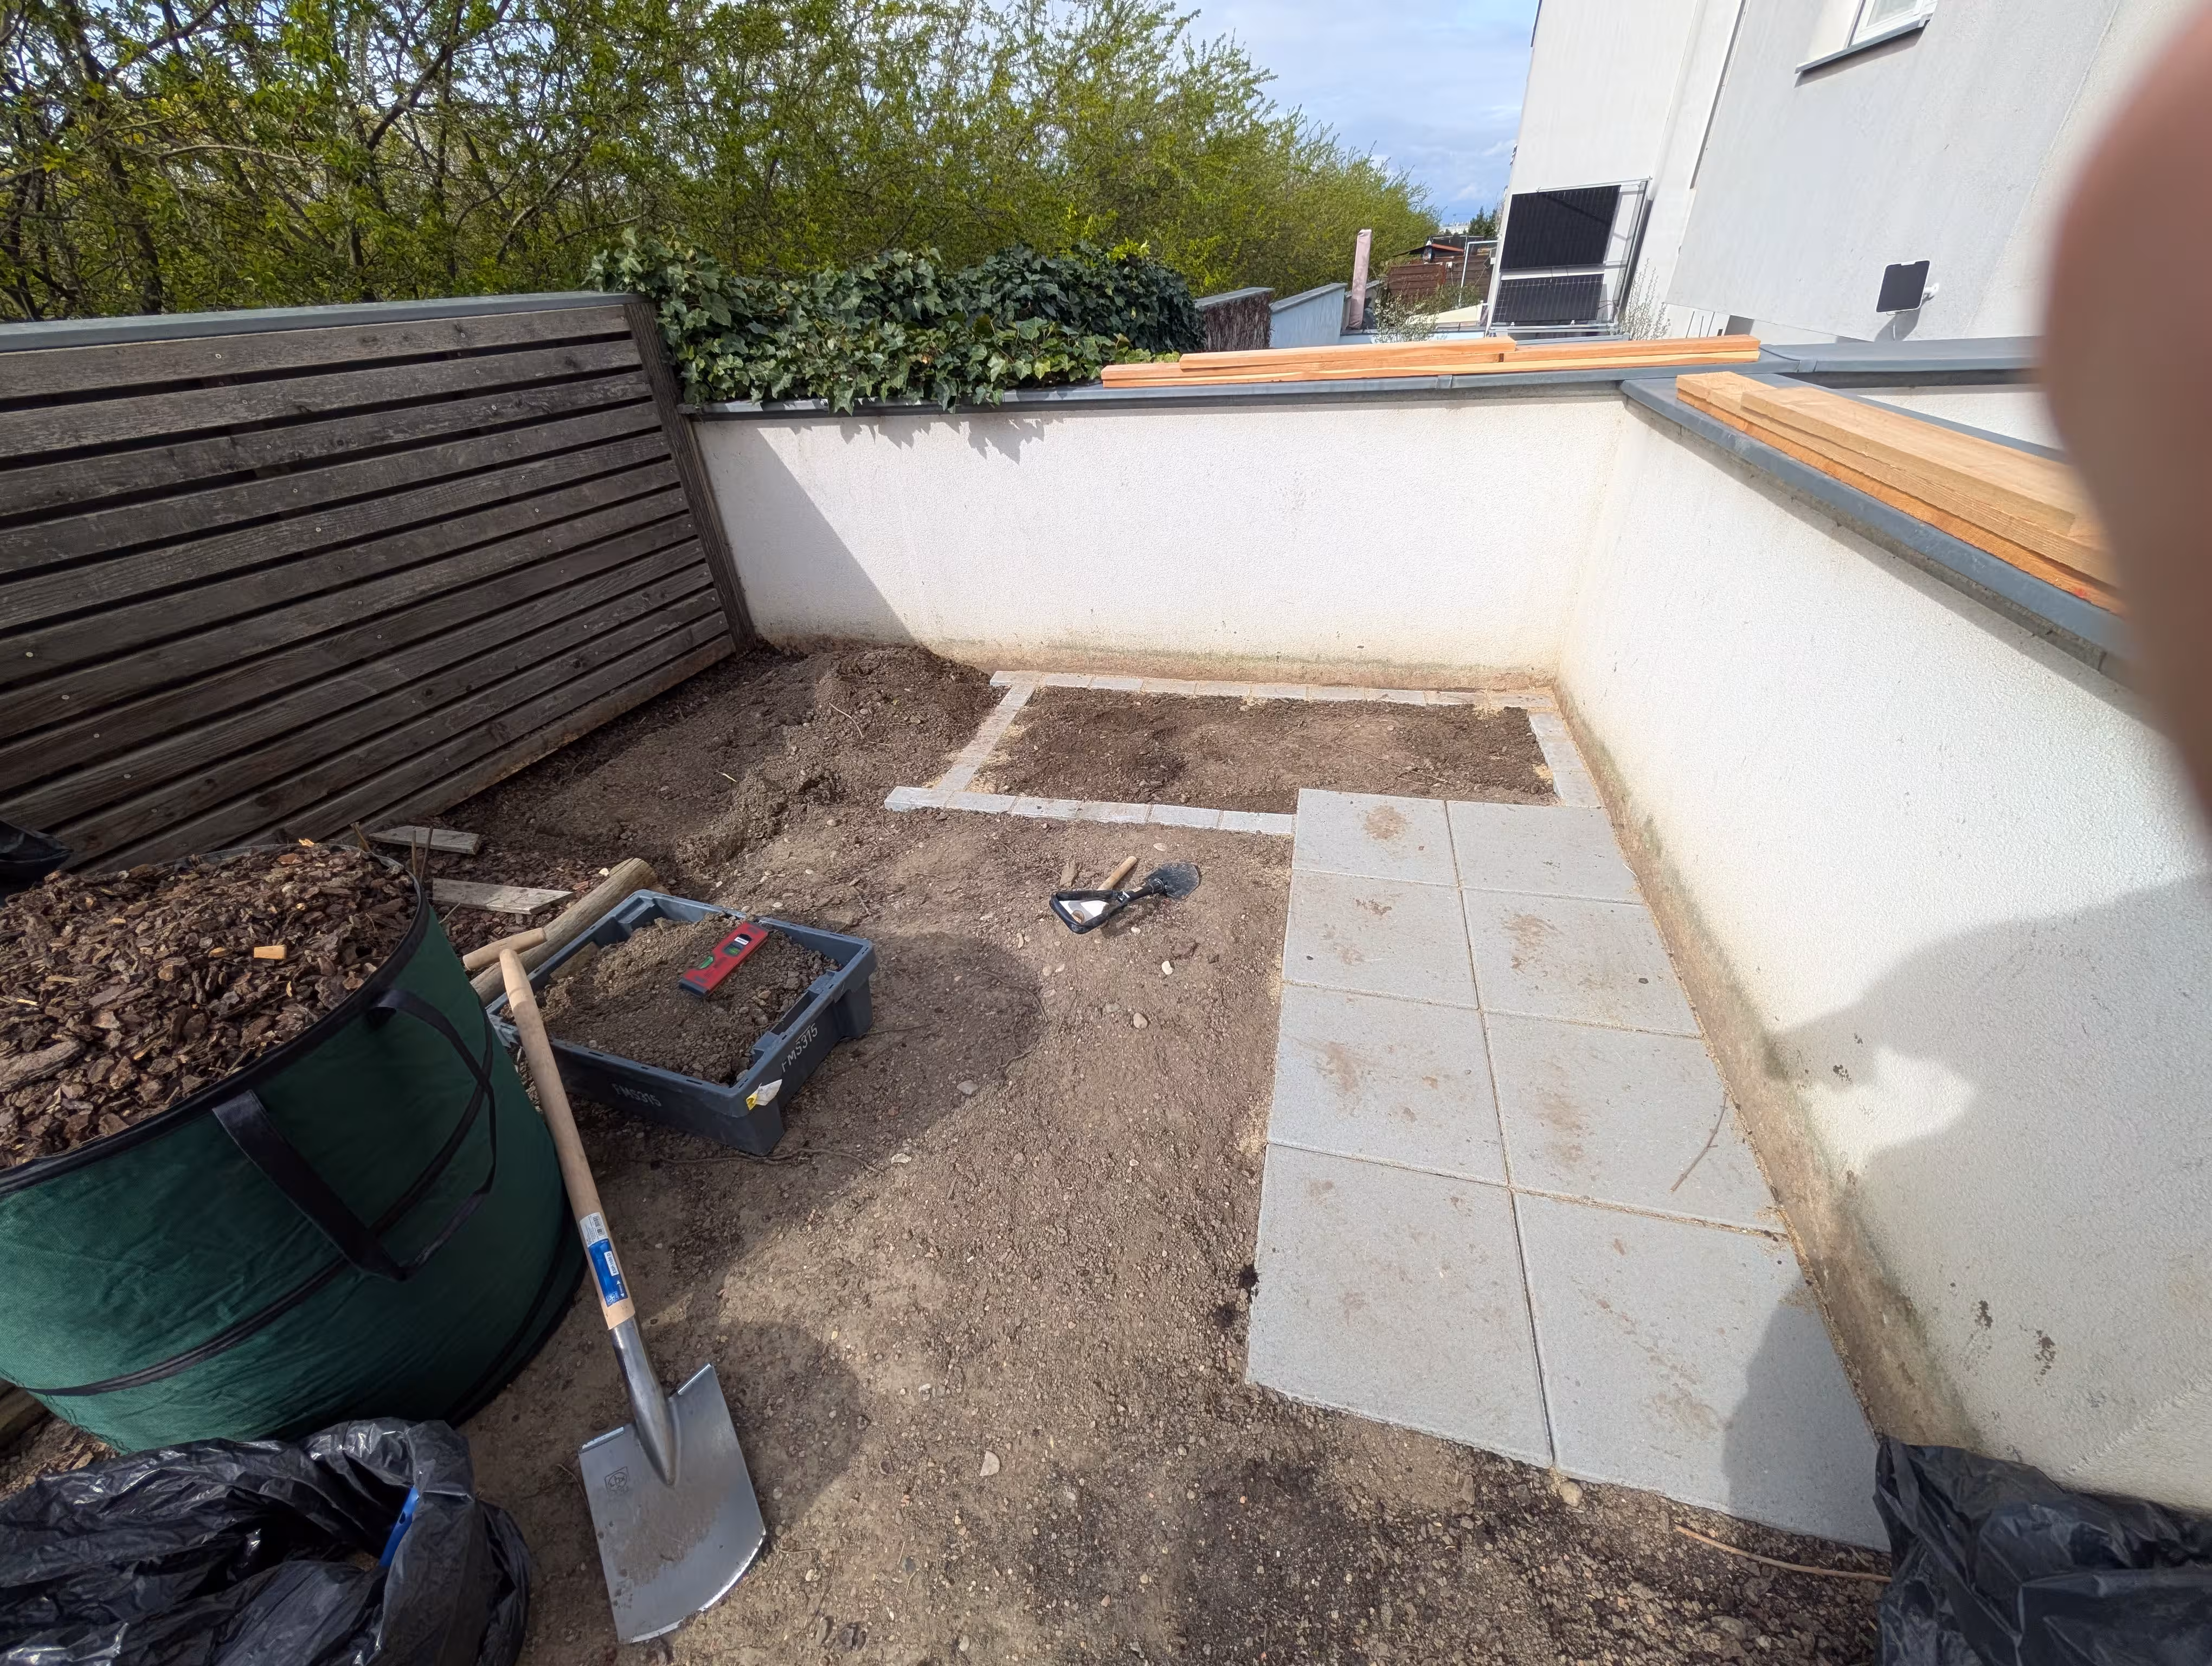
The Foundation
To start the build, we first needed to put down a base. This meant digging a small trench to put down stones. Getting them leveled out took a looooong time and put us behind schedule (we tried to finish the build in a day and ended up needing two). We had to put down one stone at a time, and trying to get them to line up as perfectly as possible only using water, a shovel and a rubber mallet. In the future I might consider lending some machinery to compact the ground for easier leveling.
Since only one of us could level out the base, due to lack of tools, the other one started to cut the lumber down to size.
The Big Planter
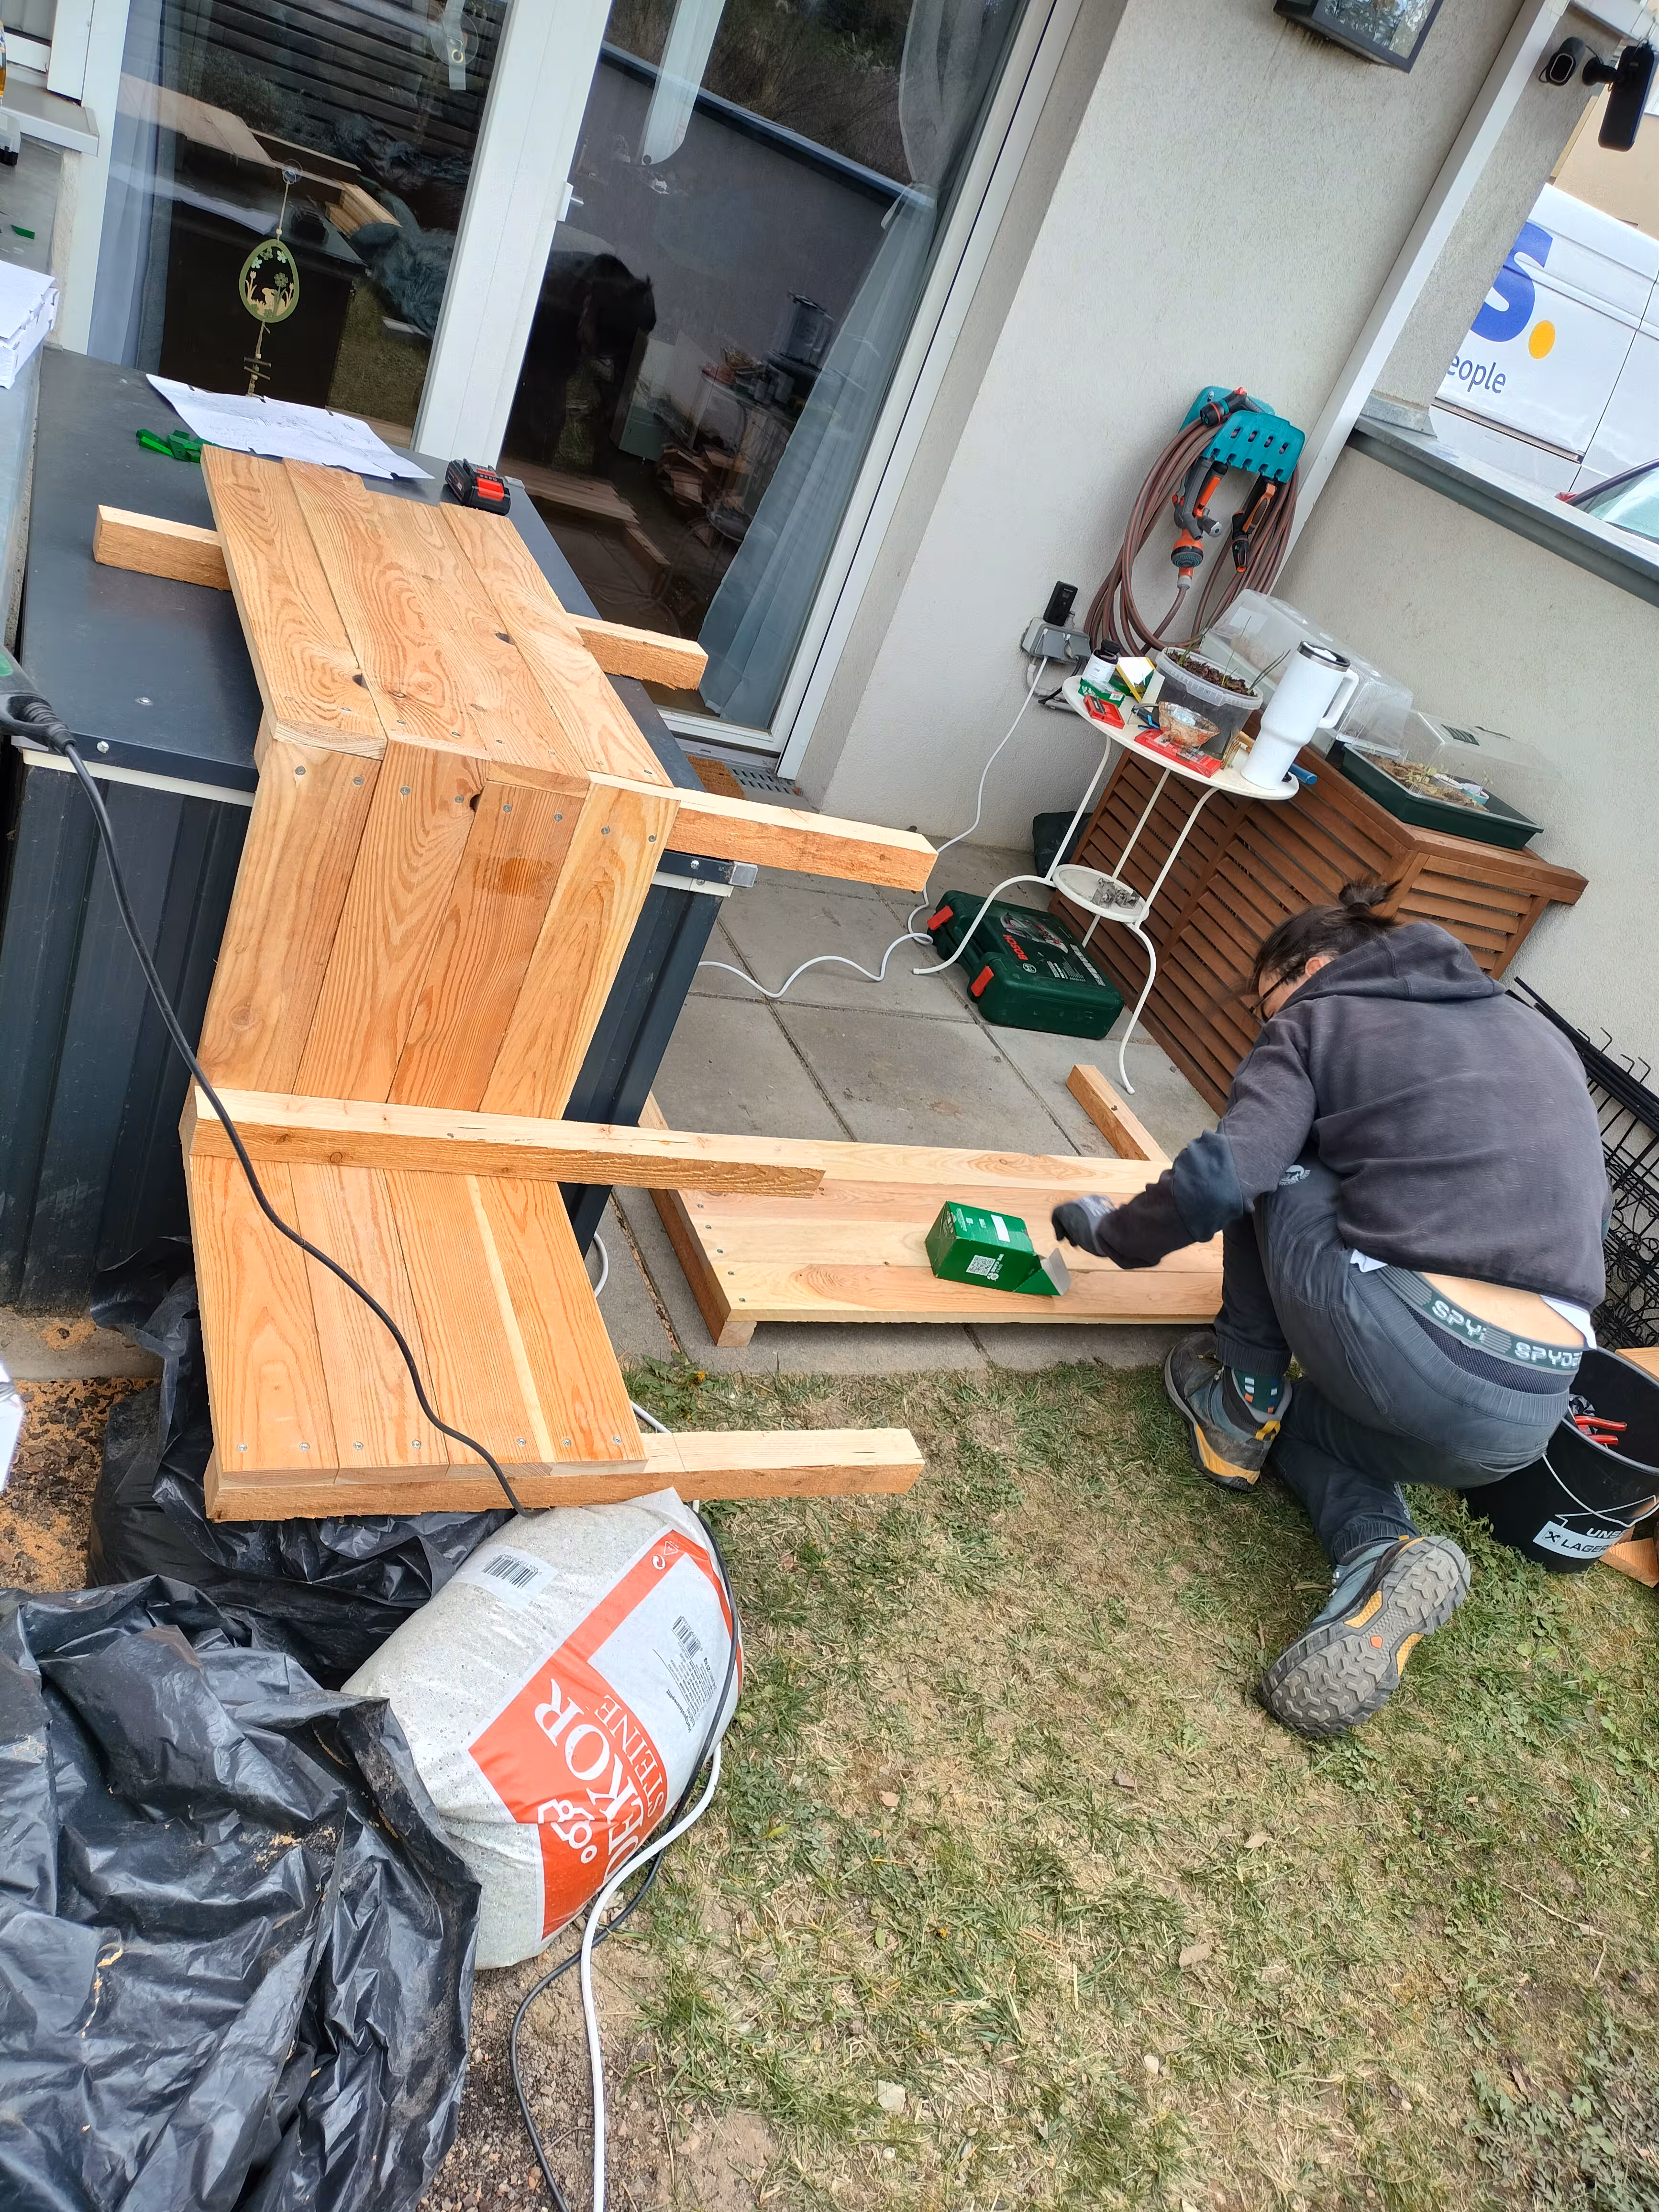
As shown in the first picture, we planned on building two planters a small one and a big one. The bigger one was easier to build, since it was only going to be a rectangle with some extra planks on top.
As soon as the planks were cut, we got right to assembling. A few screws, planks and beams later, we had the first planter finished.
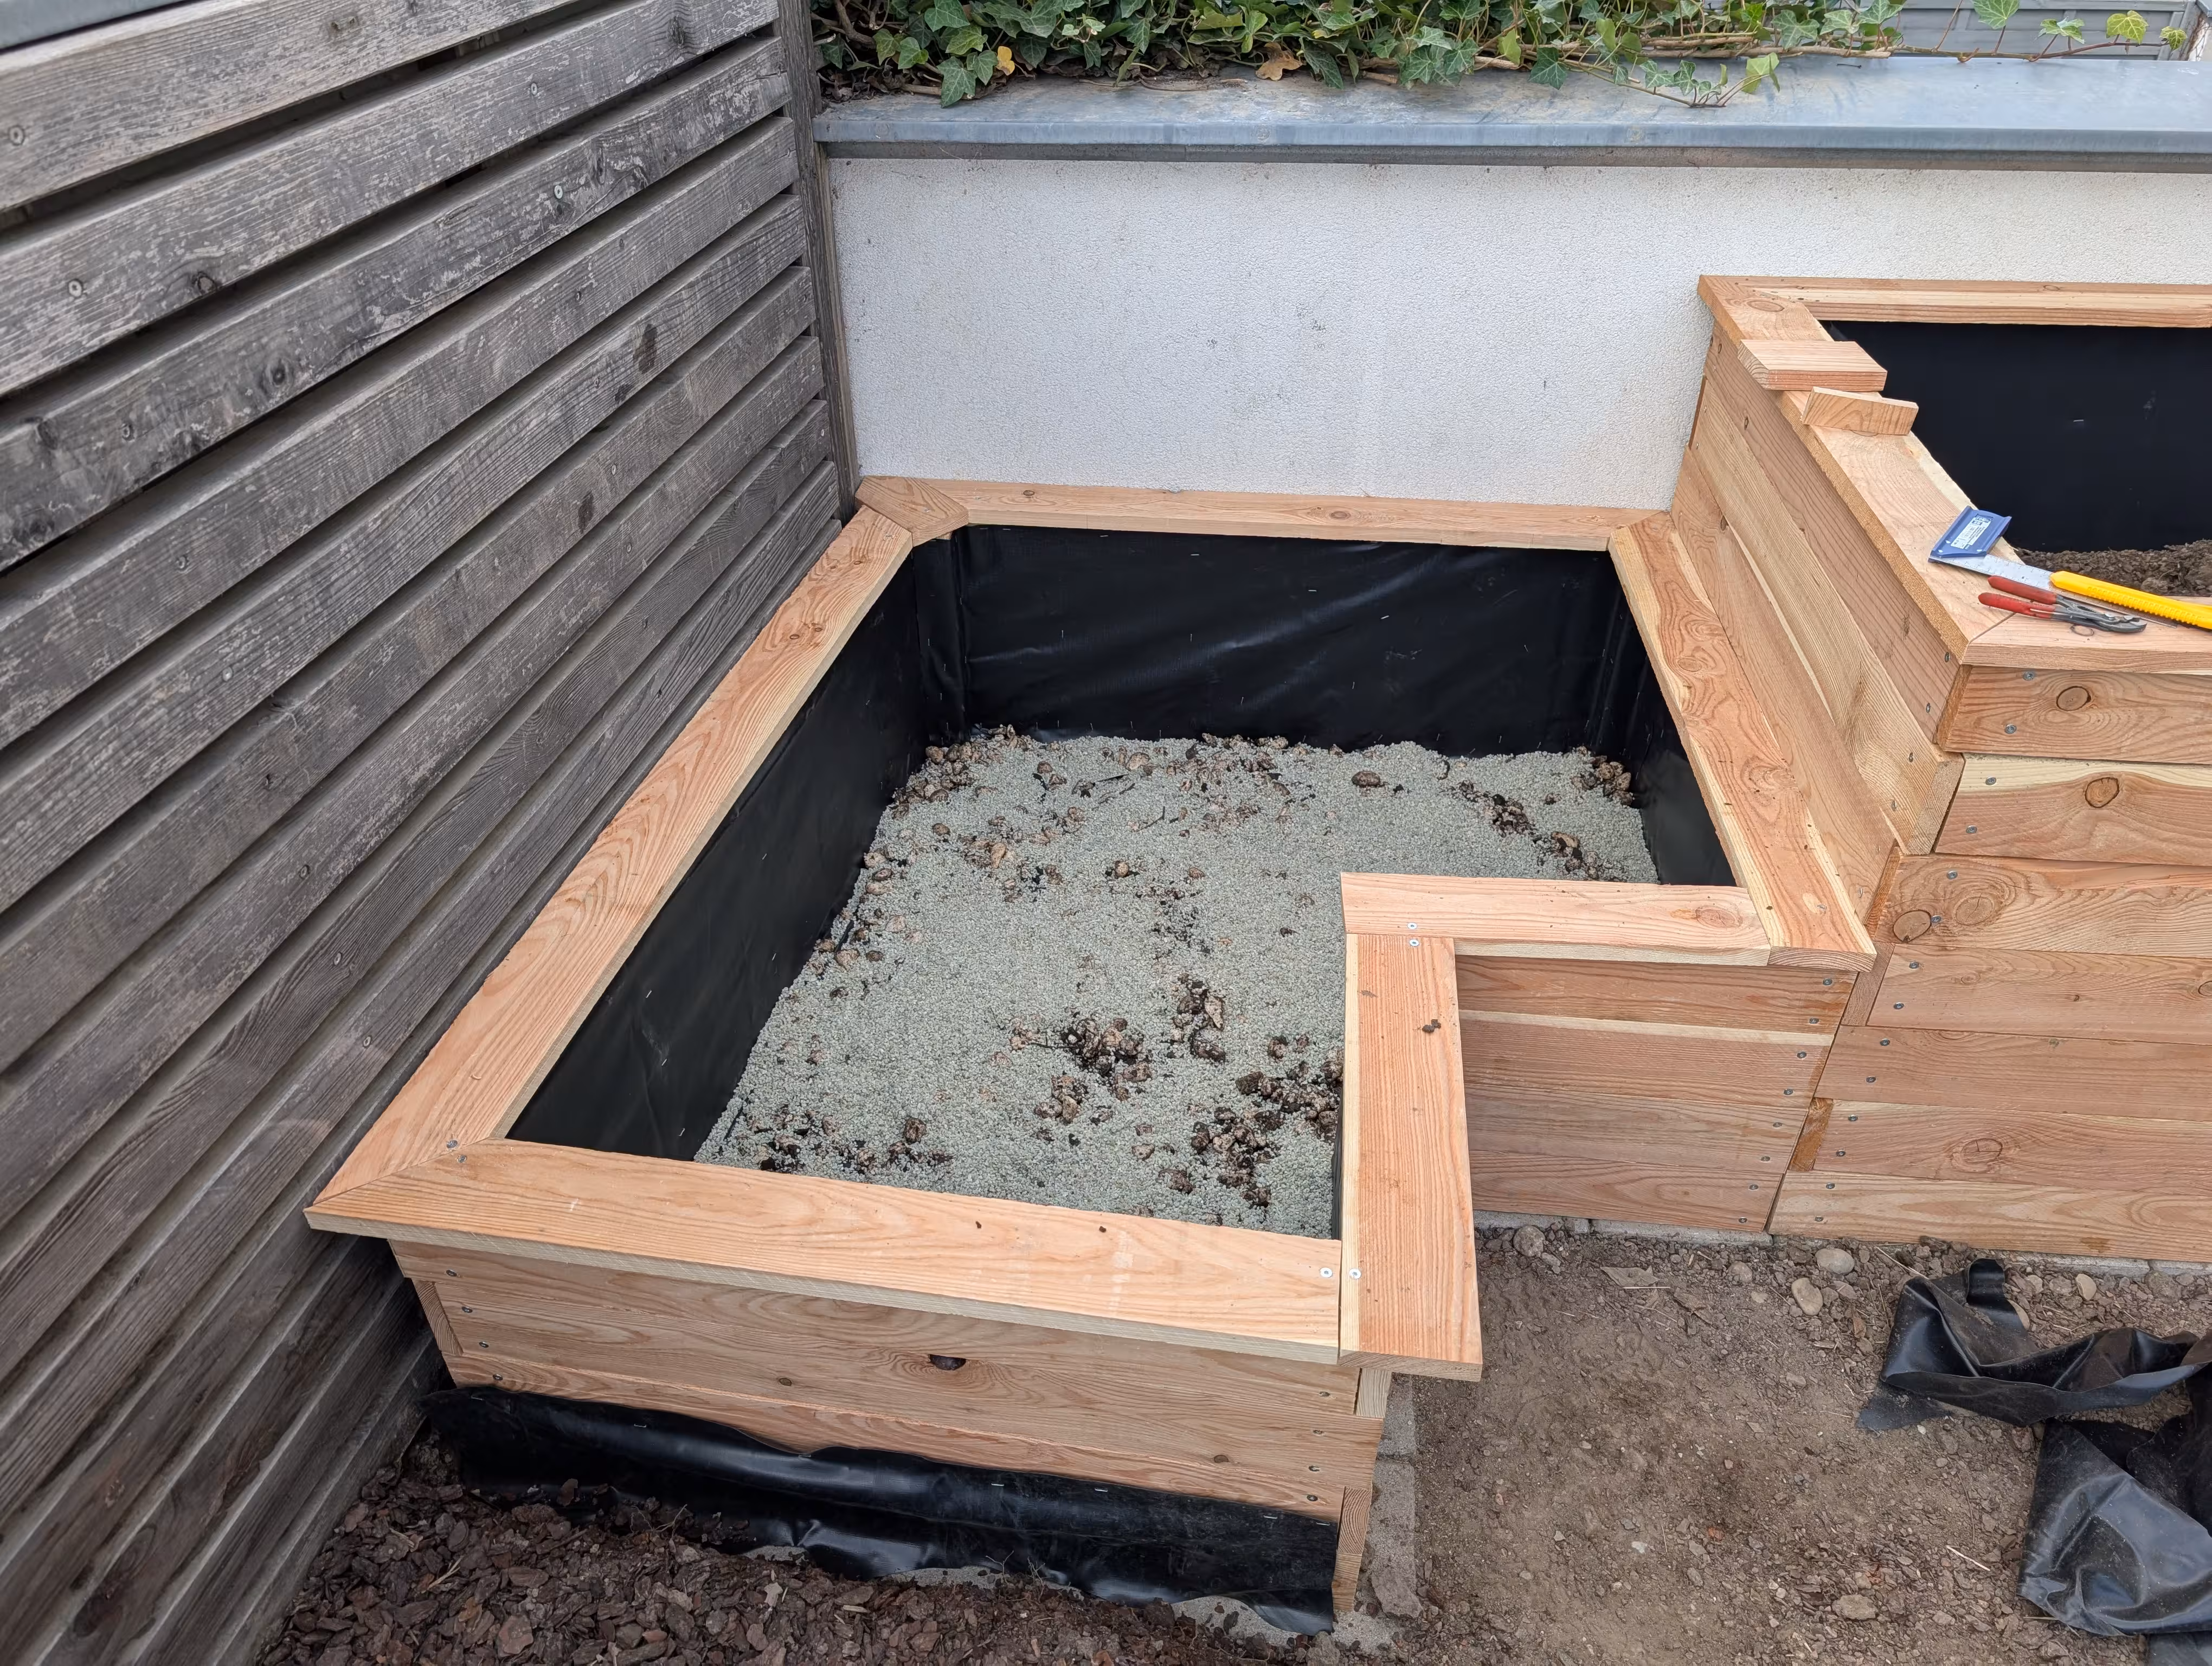
After putting the planter on its designated spot we lined the inside with pond liner, got the steel cable installed (to keep the wood from bending under pressure from the dirt) and started to move on to the small planter.
The Small Planter
This planter was going to face us with problems we anticipated, but decided to ignore until we absolutely had to find a solution. As I mentioned before, the outer parameter of our garden isn’t in a 90° angle, this meant two of our angles had to be different. To solve this issue we 3D printed some jigs to screw in between the planks and the beams.
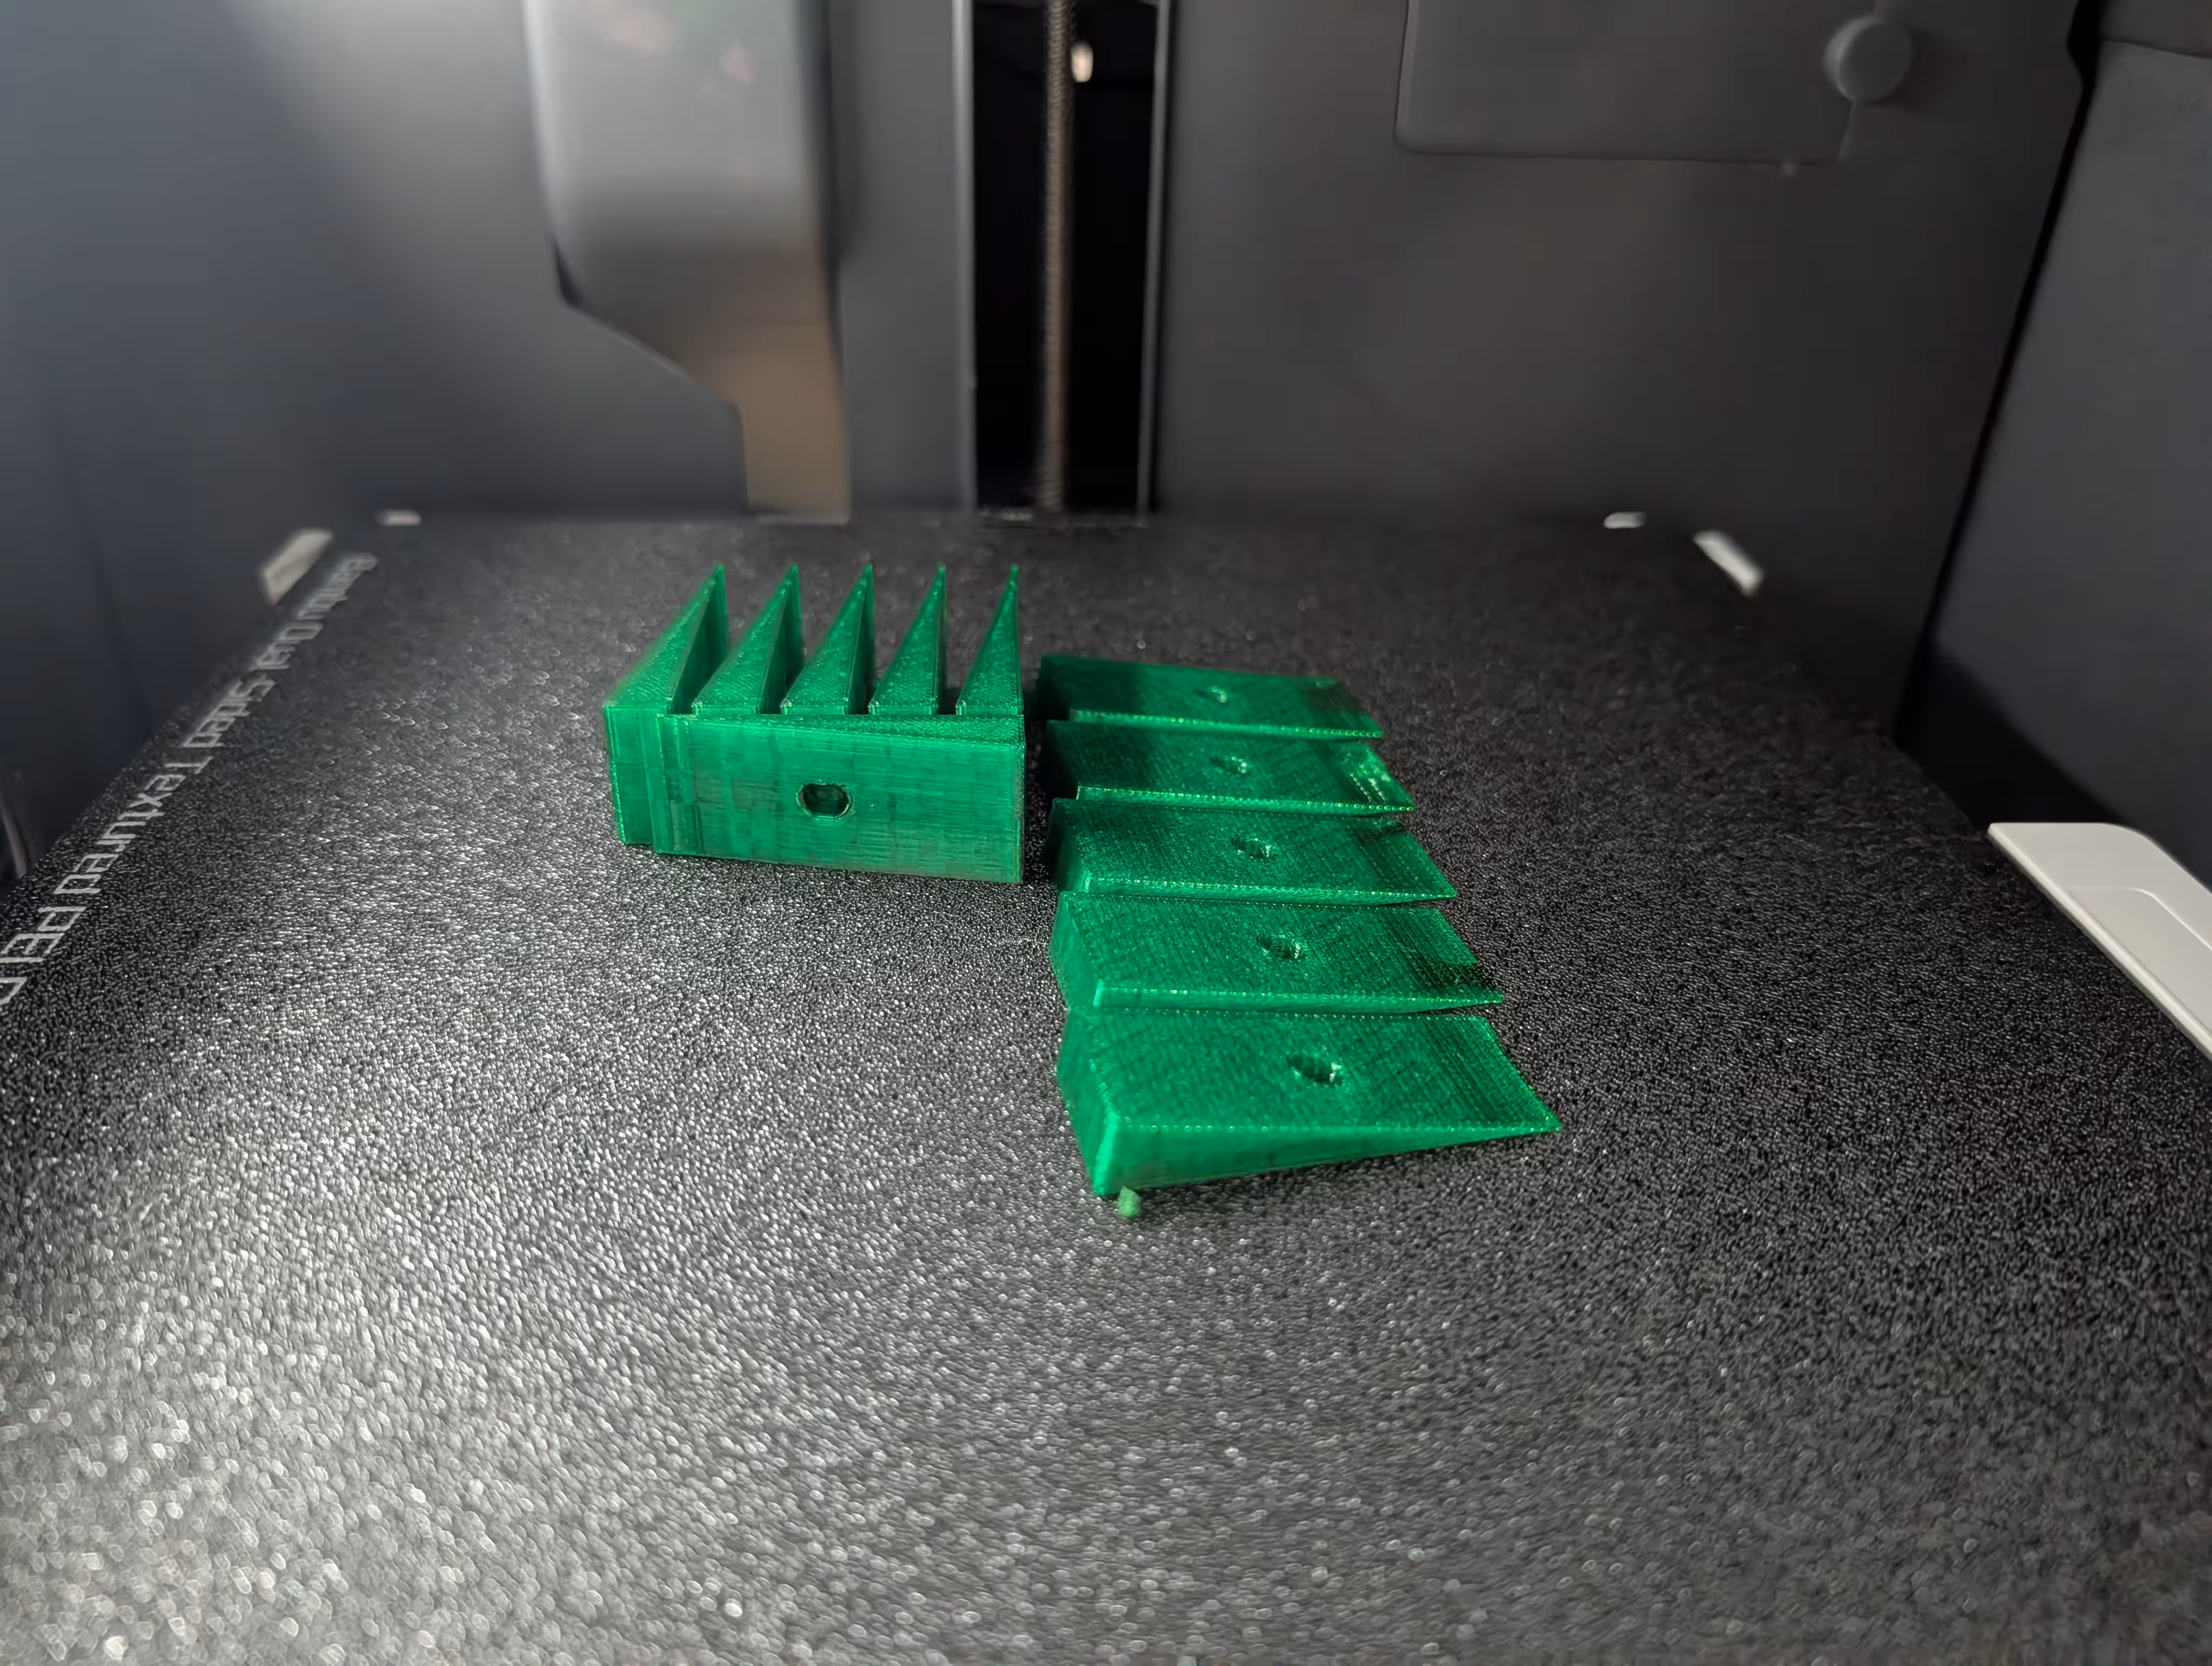
Since this was a bit of a lazy solution it didn’t work as perfectly as we wanted it to, but it worked well enough for our purpose.
With this solution somewhat working we screwed everything together.
After it was in place we lined it with pond liner the same way we did with the big planter.
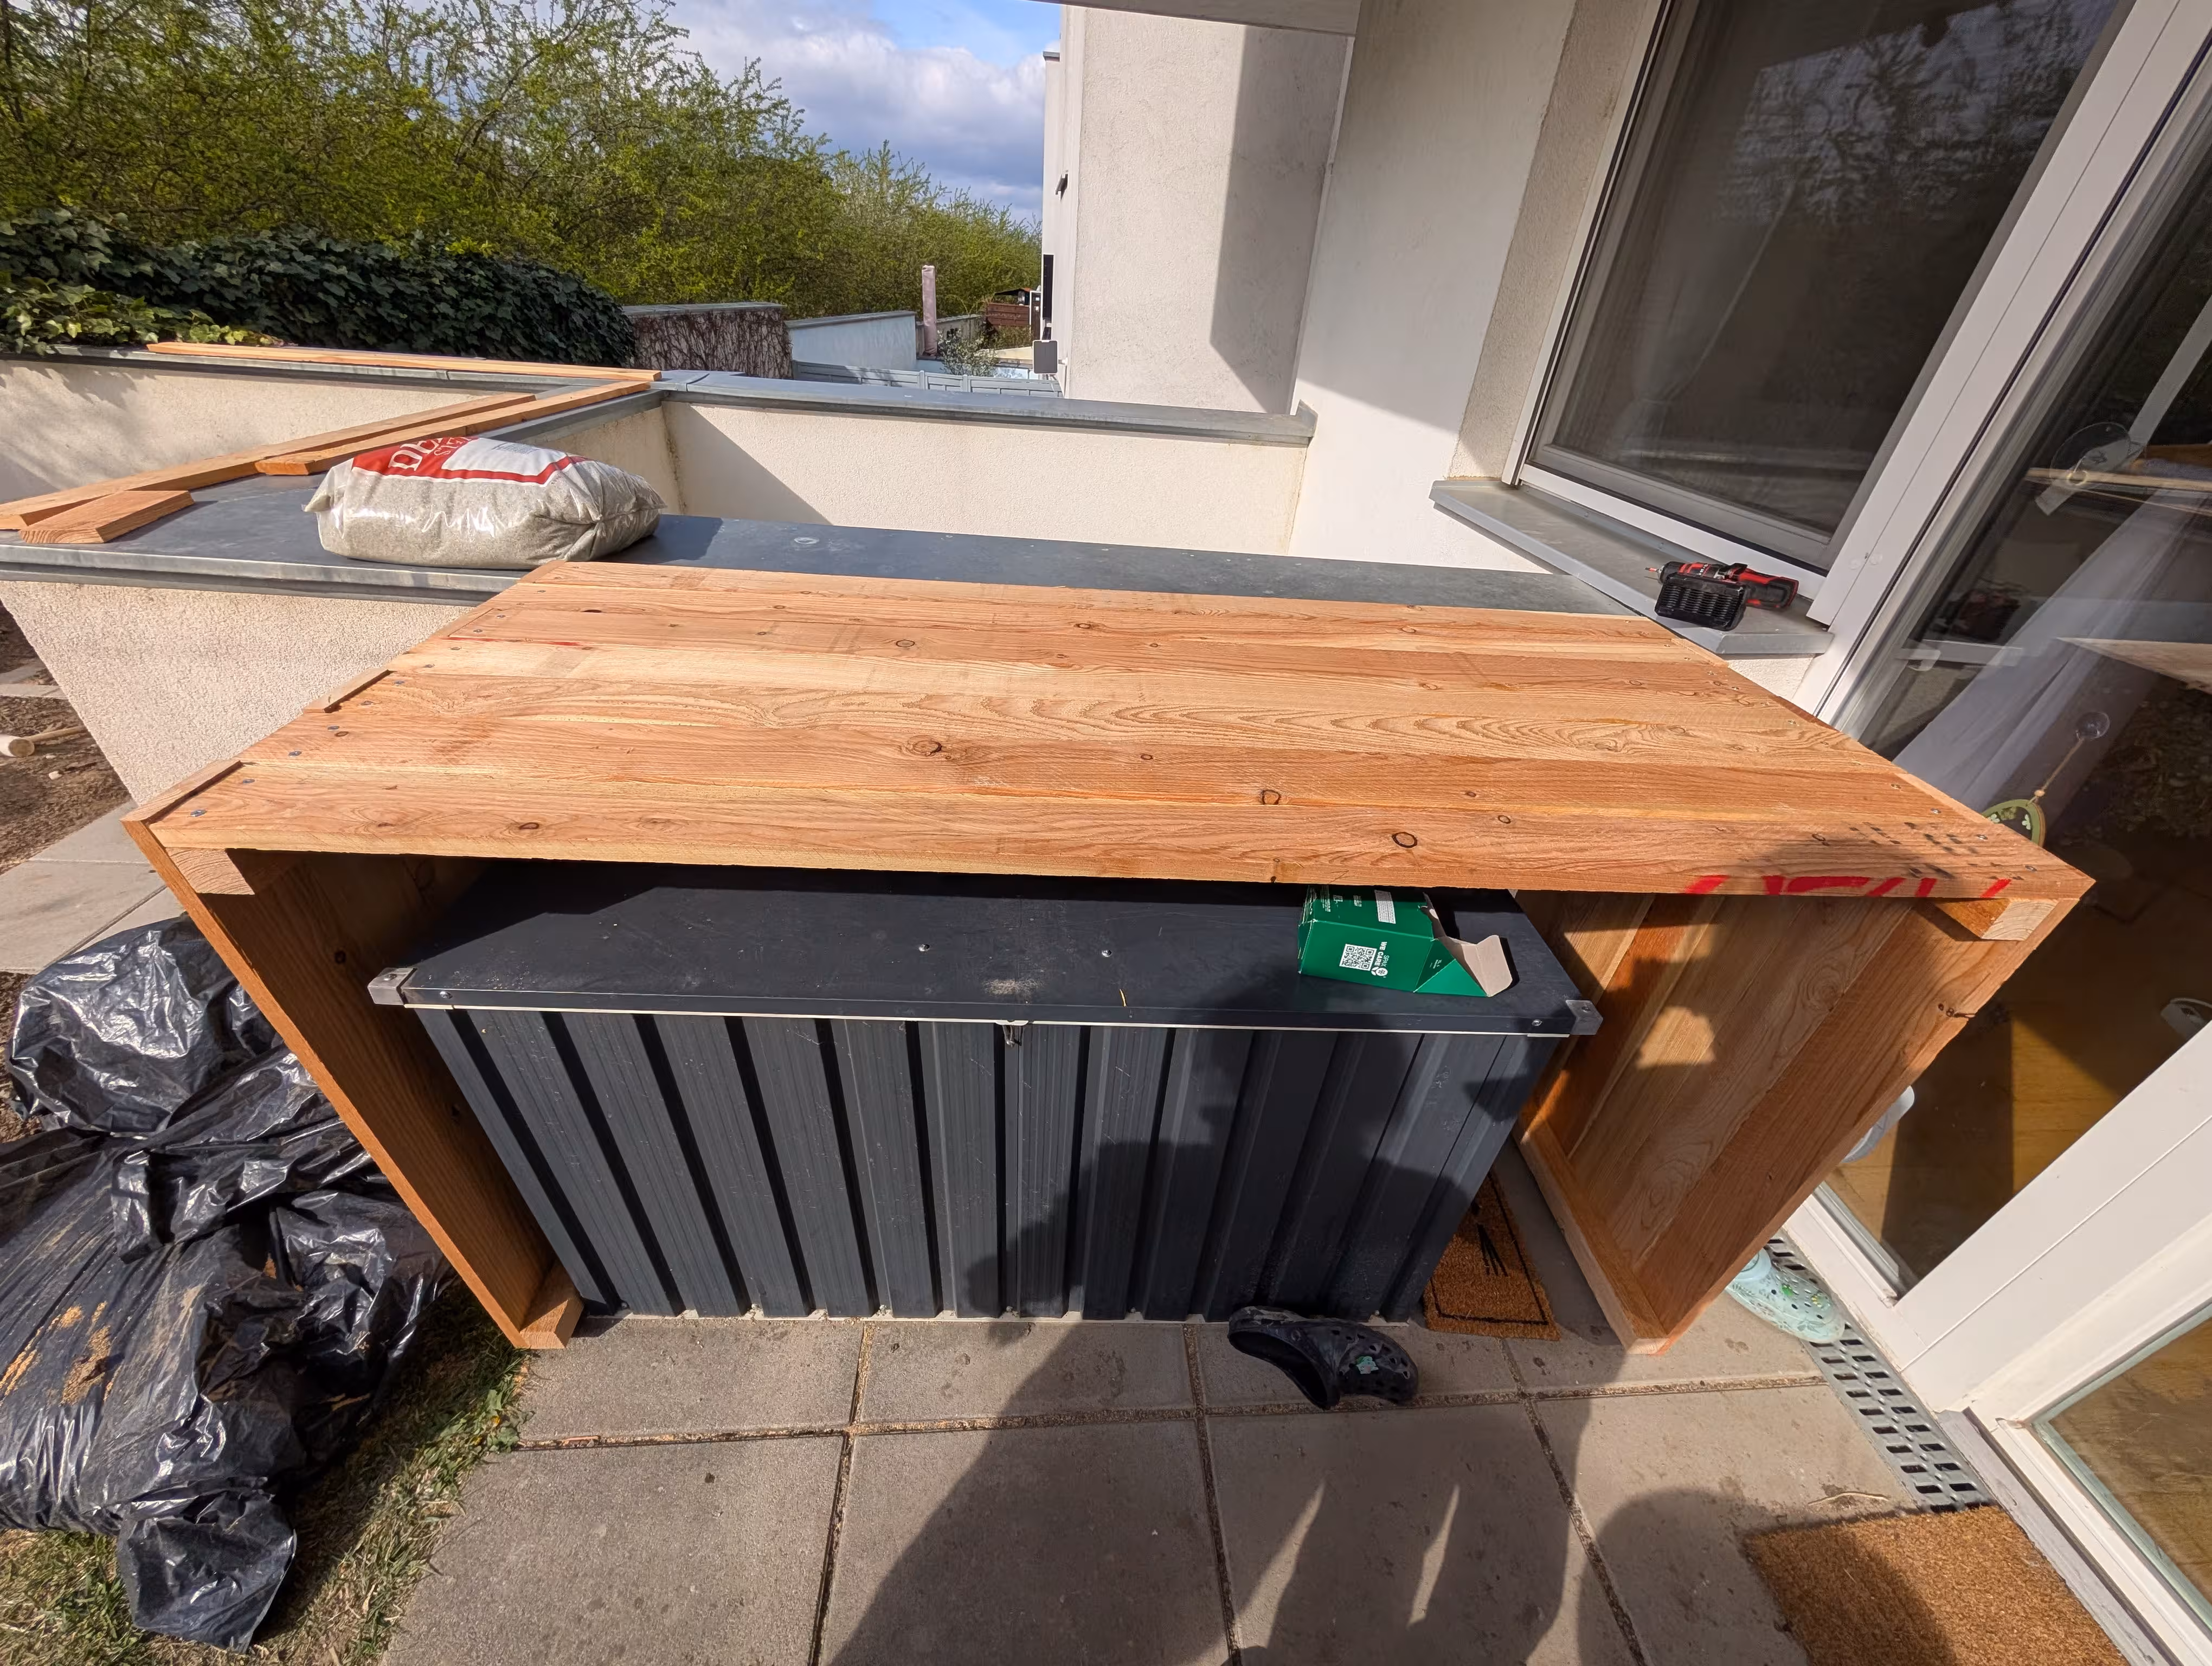
The Top
To top it off we cut some lumber to screw on top of the walls to create a nice finish. Since our garden is a bit wonky we had to take new measurements and wing a few of the cuts. Luckily we had some leftover planks, since it took us multiple tries to get it right for the little planter.
The Filling
A raised veggie bed is usually filled in a few different layers. We filled it with some stones we had kept from the old garden layout as our first layer. On top of that we put some branches we had from the trees and bushes we cut down and to fill the gaps we used the old bark mulch.
To create a barrier between the dirt and branches, we used our current lawn, since we planned on sewing new grass anyway. The last layer, on top of the lawn seam is plain old dirt we bought at the hardware store for €86.90.
The Result
A finished raised vegetable planter.

Just from a pricing perspective we saved a few bucks. That aside, we had lots and lots of fun building it and learned some new things along the way. So it was absolutely worth it.
Why did I almost end up in the hospital? Well. Apparently I react allergic to larch sawdust. A day after the build was done, my face was swollen and I couldn’t open my eyes. Everything was itching and I had a rash. Was it still worth it? YES.
>> Home